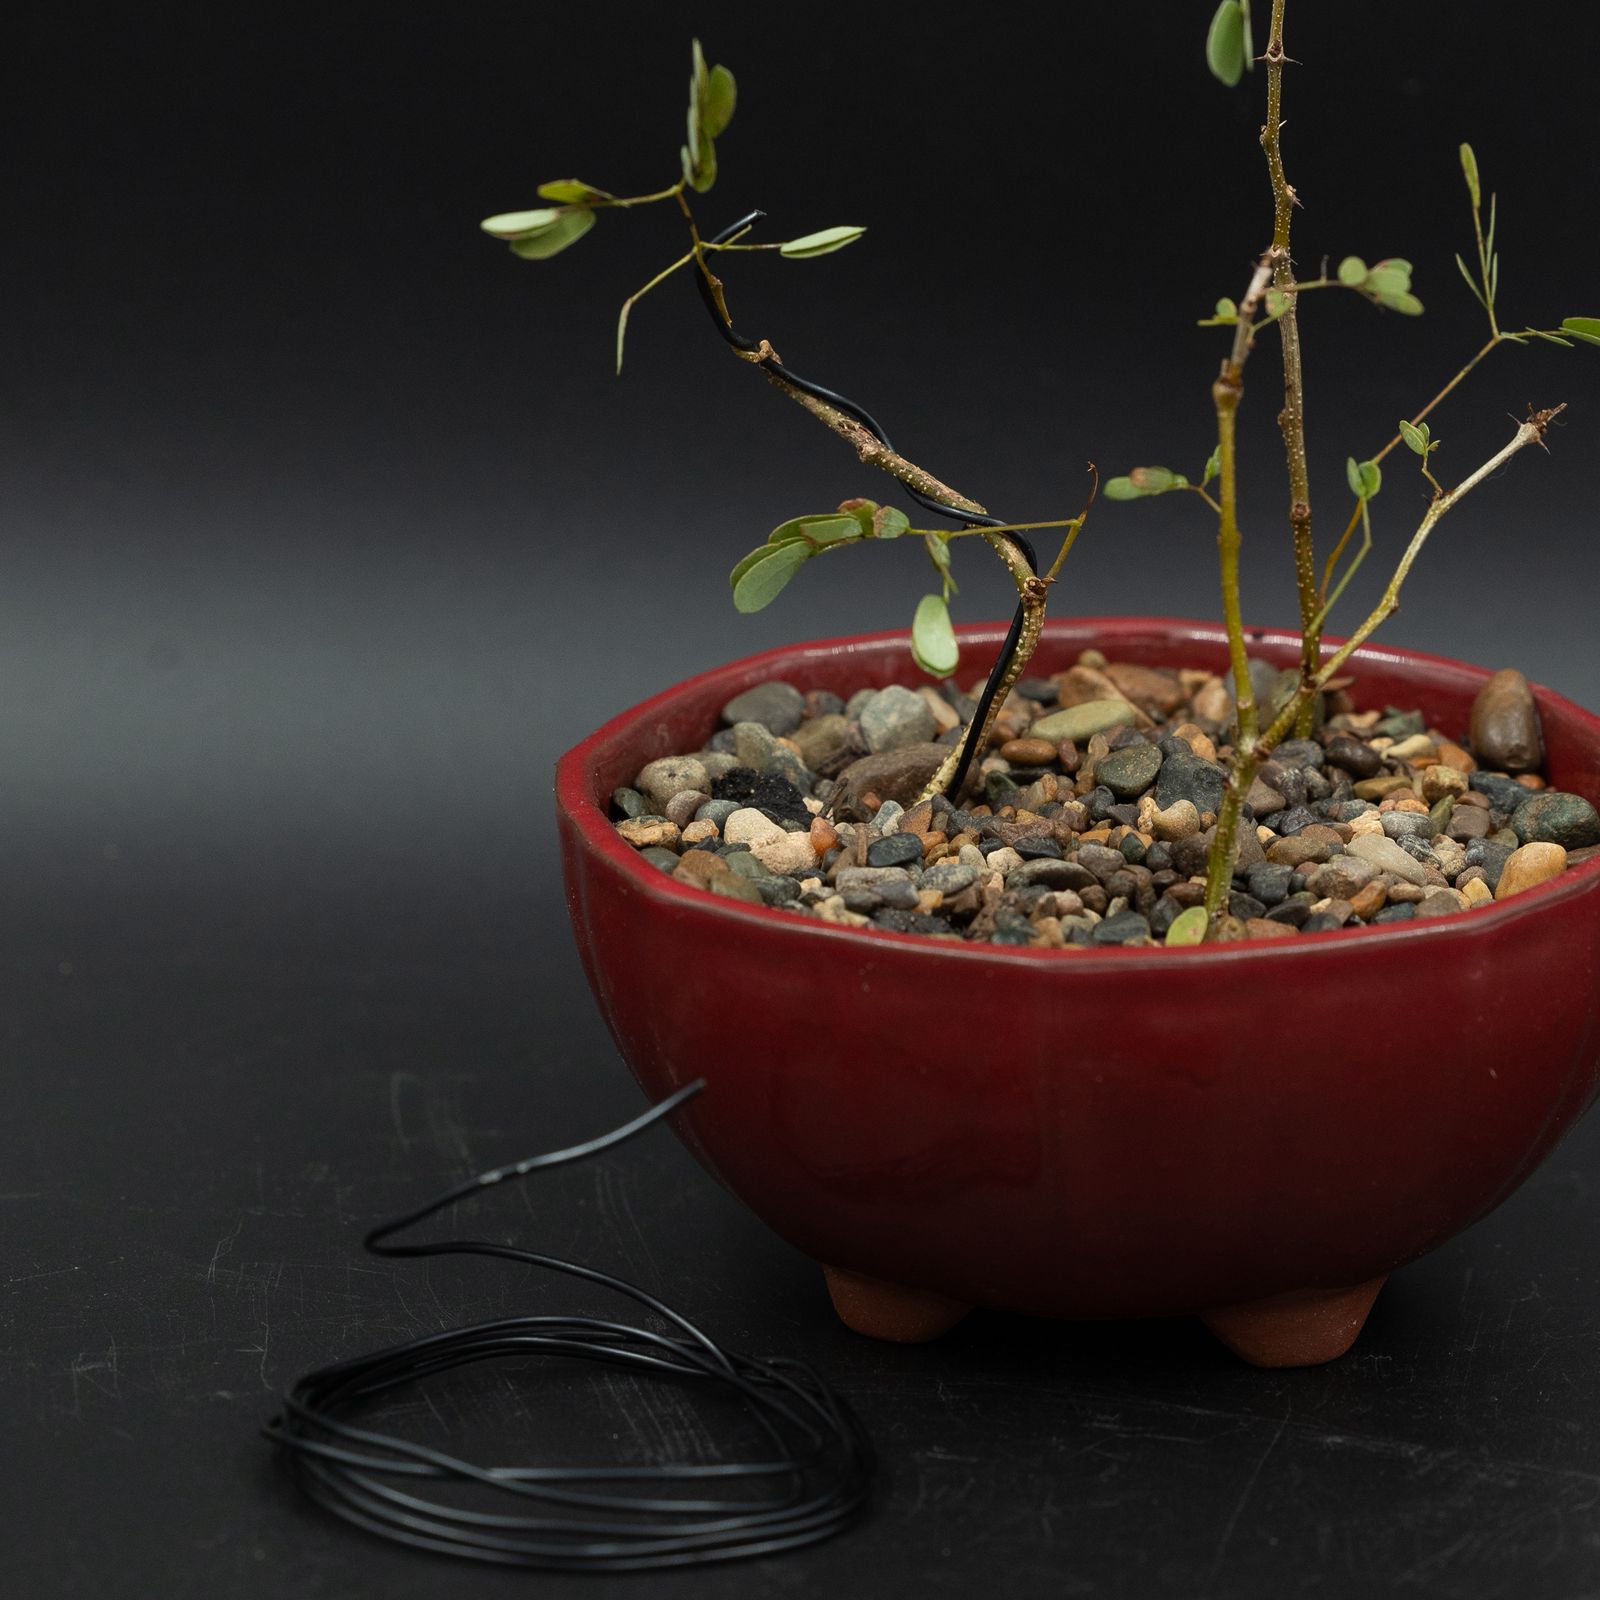
Grow your own Bonsai
Whats inside?

What’s in side and unpackaging your Grow Your Own Bonsai Kit.
1x Bonsai pot
1x Sieve
1x Hook
1x packet of potting mix
3x seeds
1x instructions on seed preperations
1x packet of gravel
1x roll of bonsai training wire

Here is a video of our first Grow Your Own Bonsai Kit. but the basic points still aplies. Read more below for more detail, I was a bit nervous during the video take…
For other videos visit our youtube channel, click icon below.
For Acacia burkei (Black Monkey thorn) Seeds
If not done already, scarify the Acacia burkei seed by lightly sanding the seed coat or soaking it in warm water for 24 hours to help break dormancy and speed germination.
Create a small hole about 1 inch (2–3 cm) deep in the soil, place the seed inside, and gently cover it without compacting the soil too tightly.
For Acer buegerianum (Chinese Mapel) Seeds
Acer buergerianum seeds benefit from pre-treatment. If not already done, soak the seeds in warm water for 24 hours to help soften the seed coat.
Create a small hole in the soil about 1–1.5 cm deep. Place the seed into the hole and gently cover it with soil, being careful not to compact it too much.

1 Preparation
Start by placing the provided sieve over the drainage hole in the bonsai pot to prevent soil loss and ensure proper drainage. Make sure your bonsai starter pot is clean and has sufficient drainage for healthy root development.
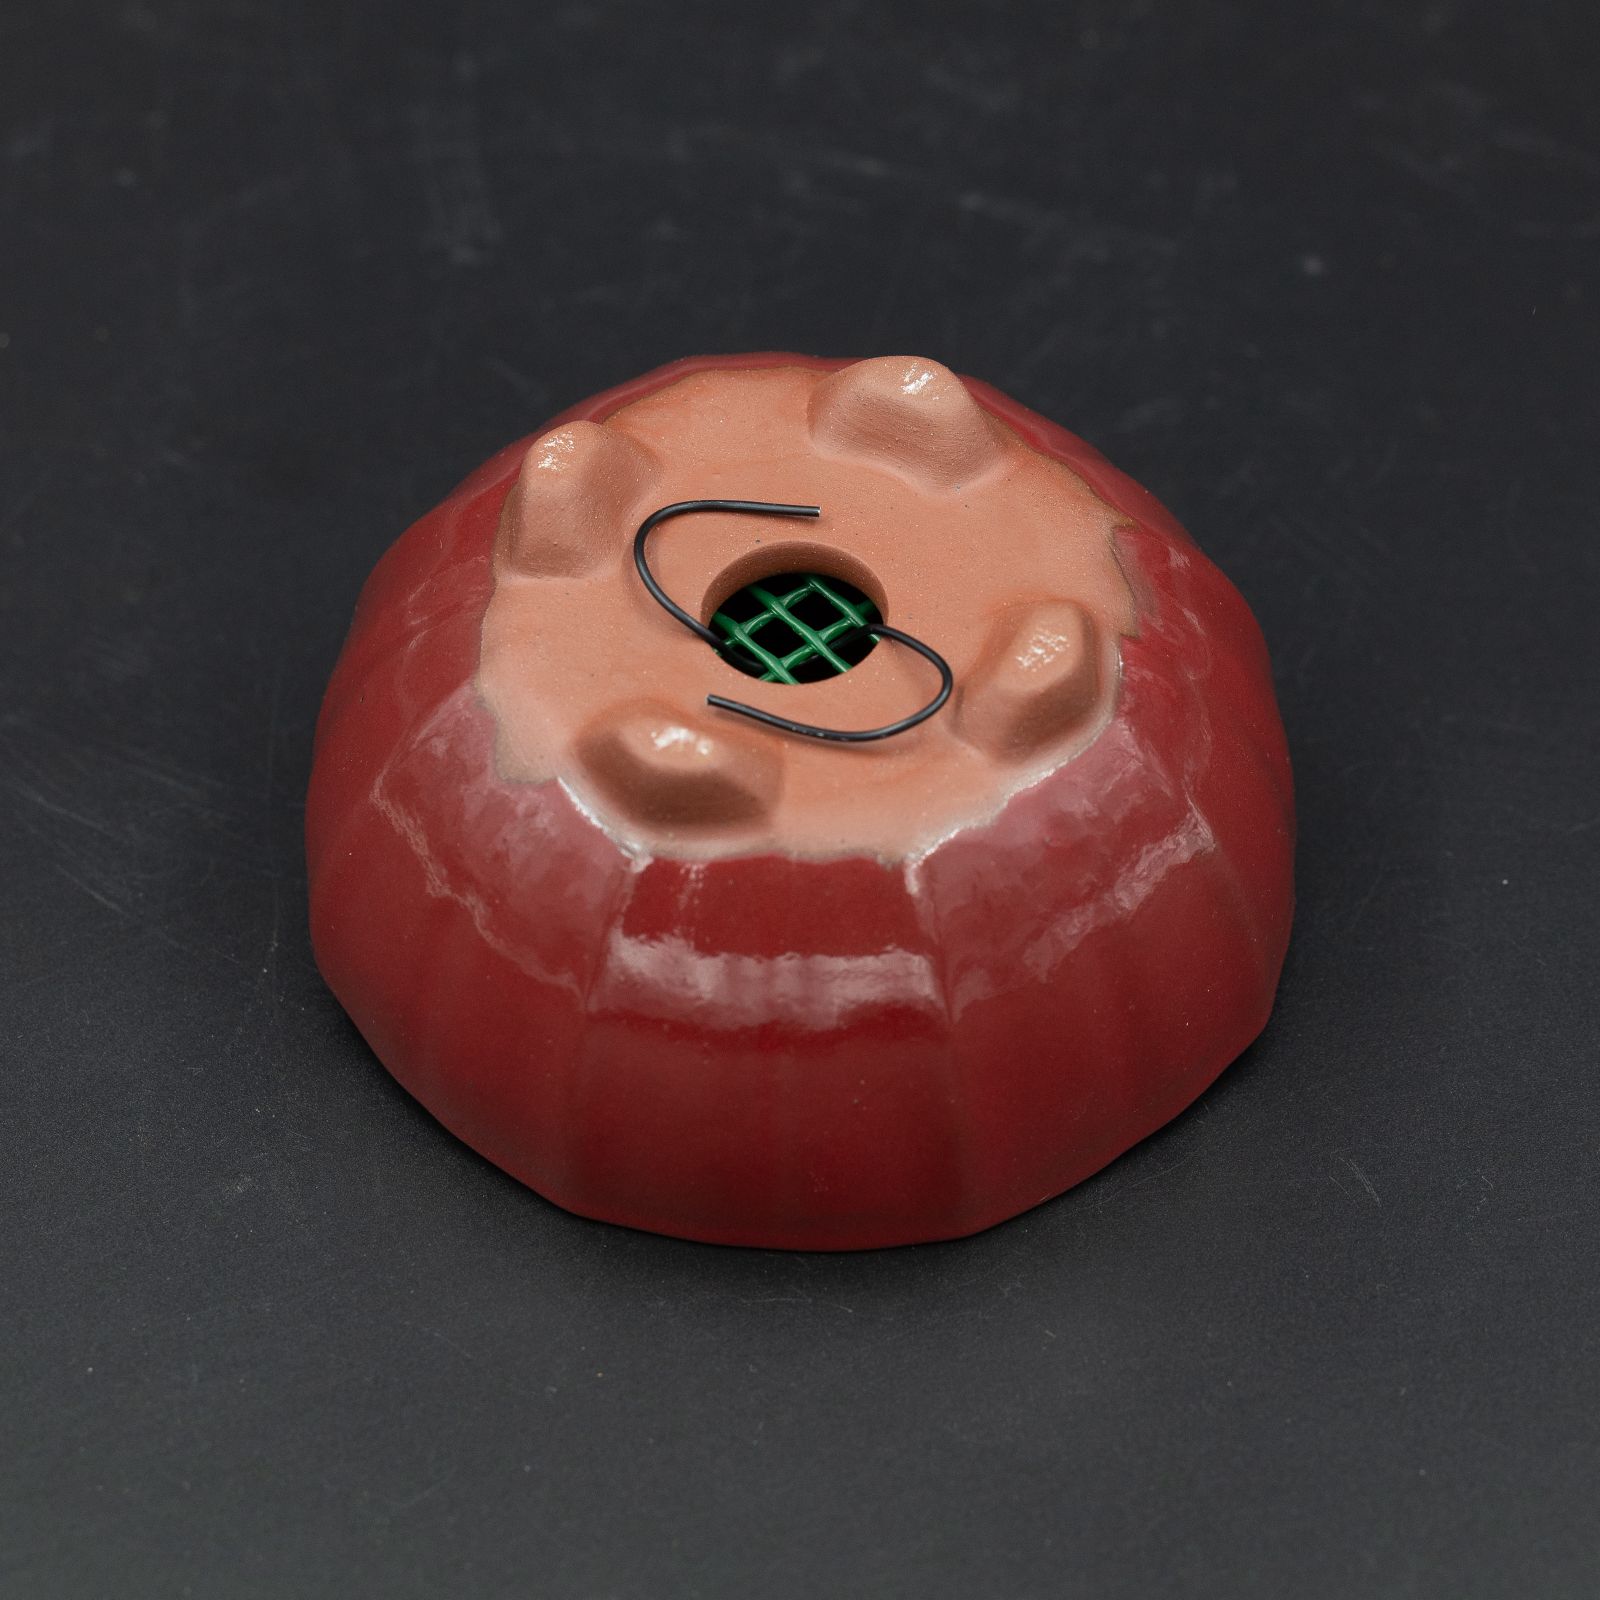

2 Adding Soil
Fill the pot with the included bonsai potting mix, leaving about 2–3 cm (approximately 1 inch) of space from the rim. This mix is designed to retain moisture while offering excellent drainage and aeration—ideal for seedling development.

3 Planting the Seed
Find the instructions on the packaging or look under the selected seed choice on the page.

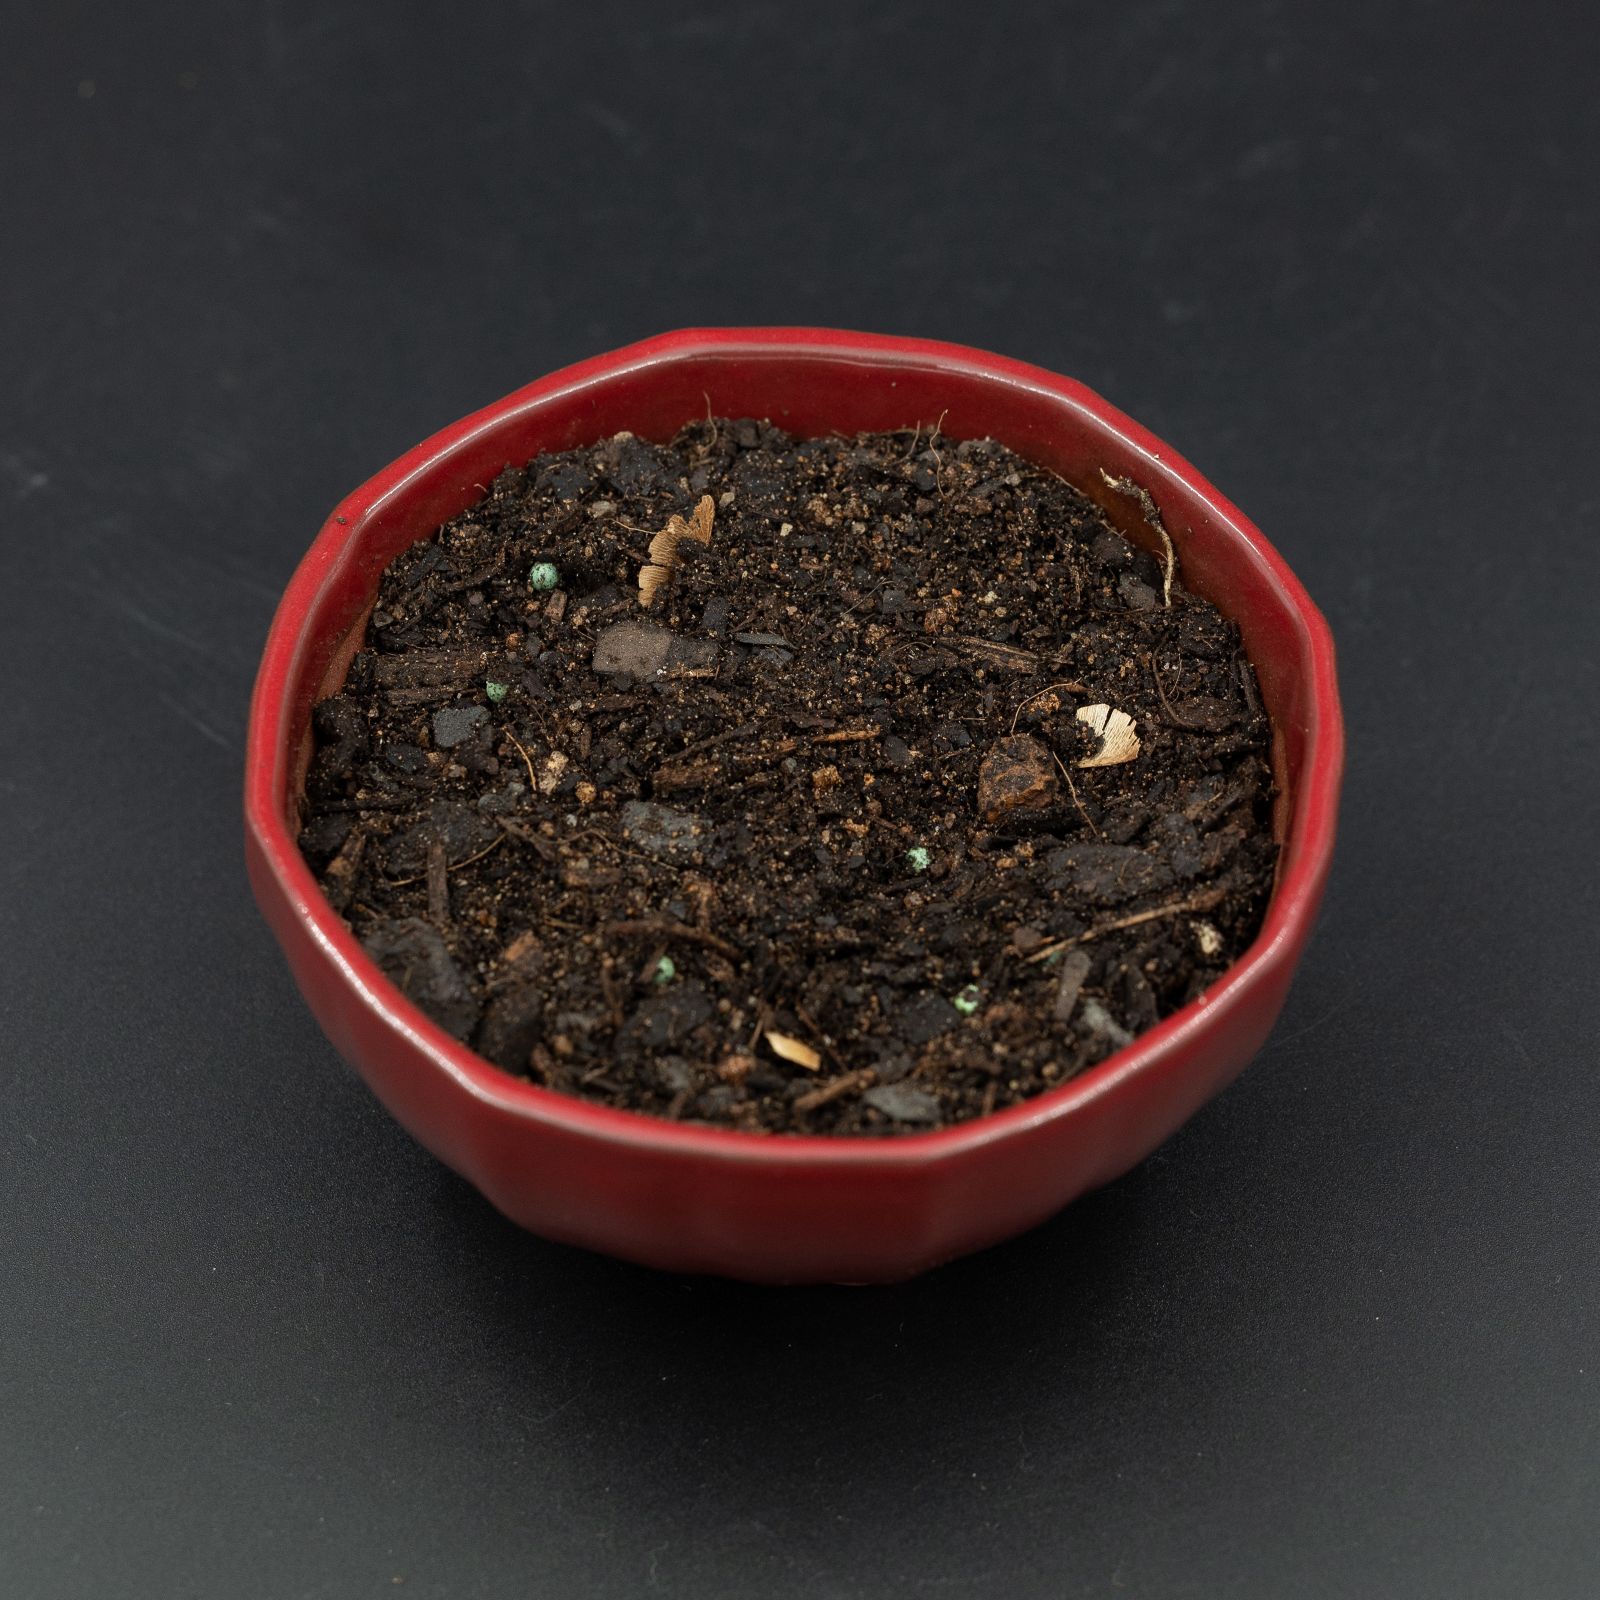
Cover
Cover the seeds with the potting soil.

4 Adding Gravel
Spread a thin layer of gravel on top of the soil. This helps retain moisture, prevents soil erosion during watering, and adds a tidy finish to your bonsai pot.
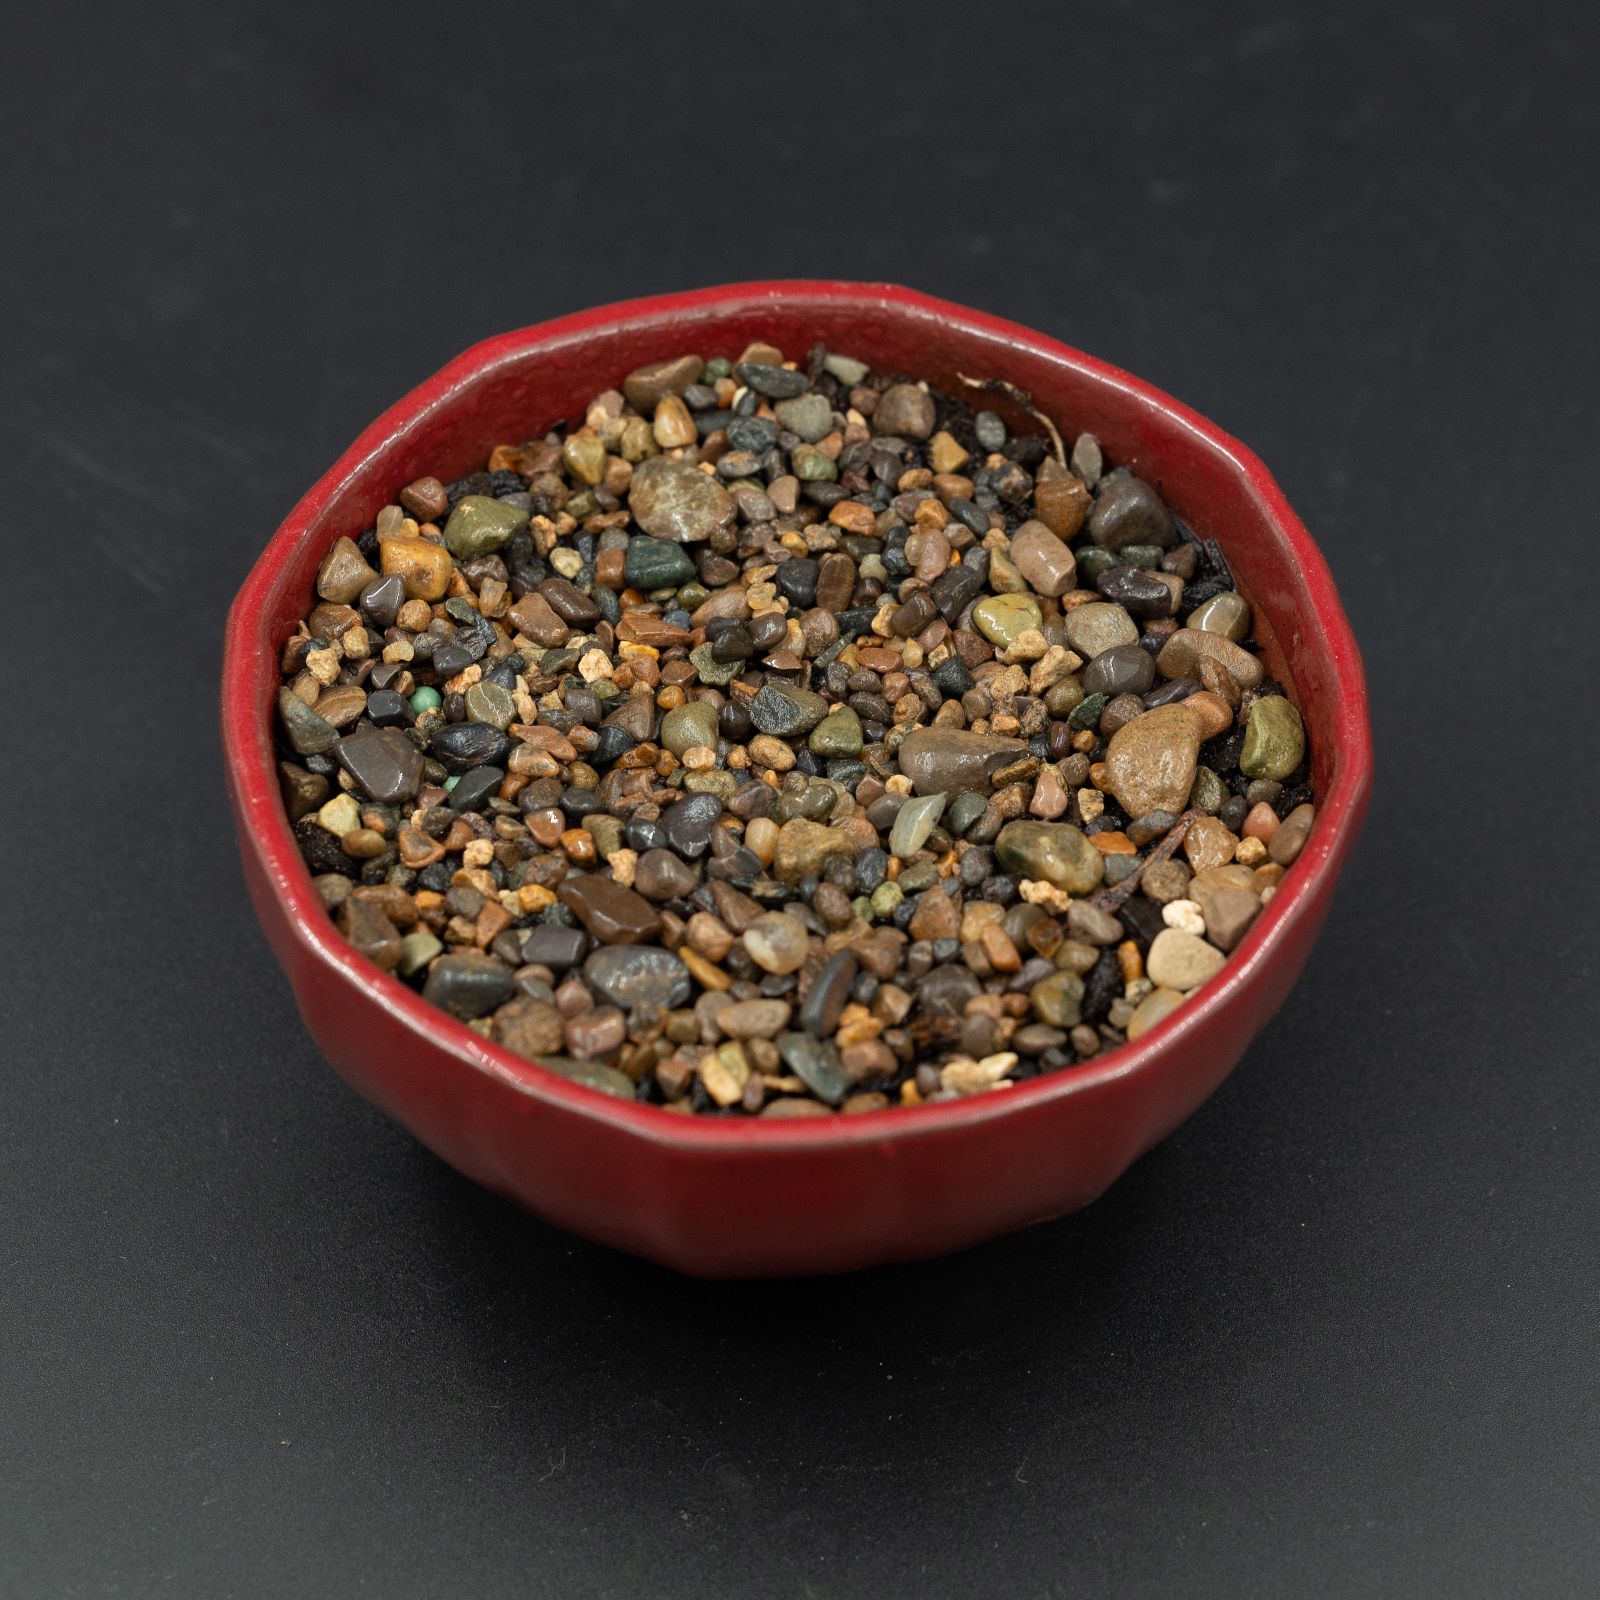
5 Watering
Water gently until water begins to drain from the bottom. The soil should be evenly moist but not waterlogged.

6 Using the 1L Transparent Container as a Greenhouse
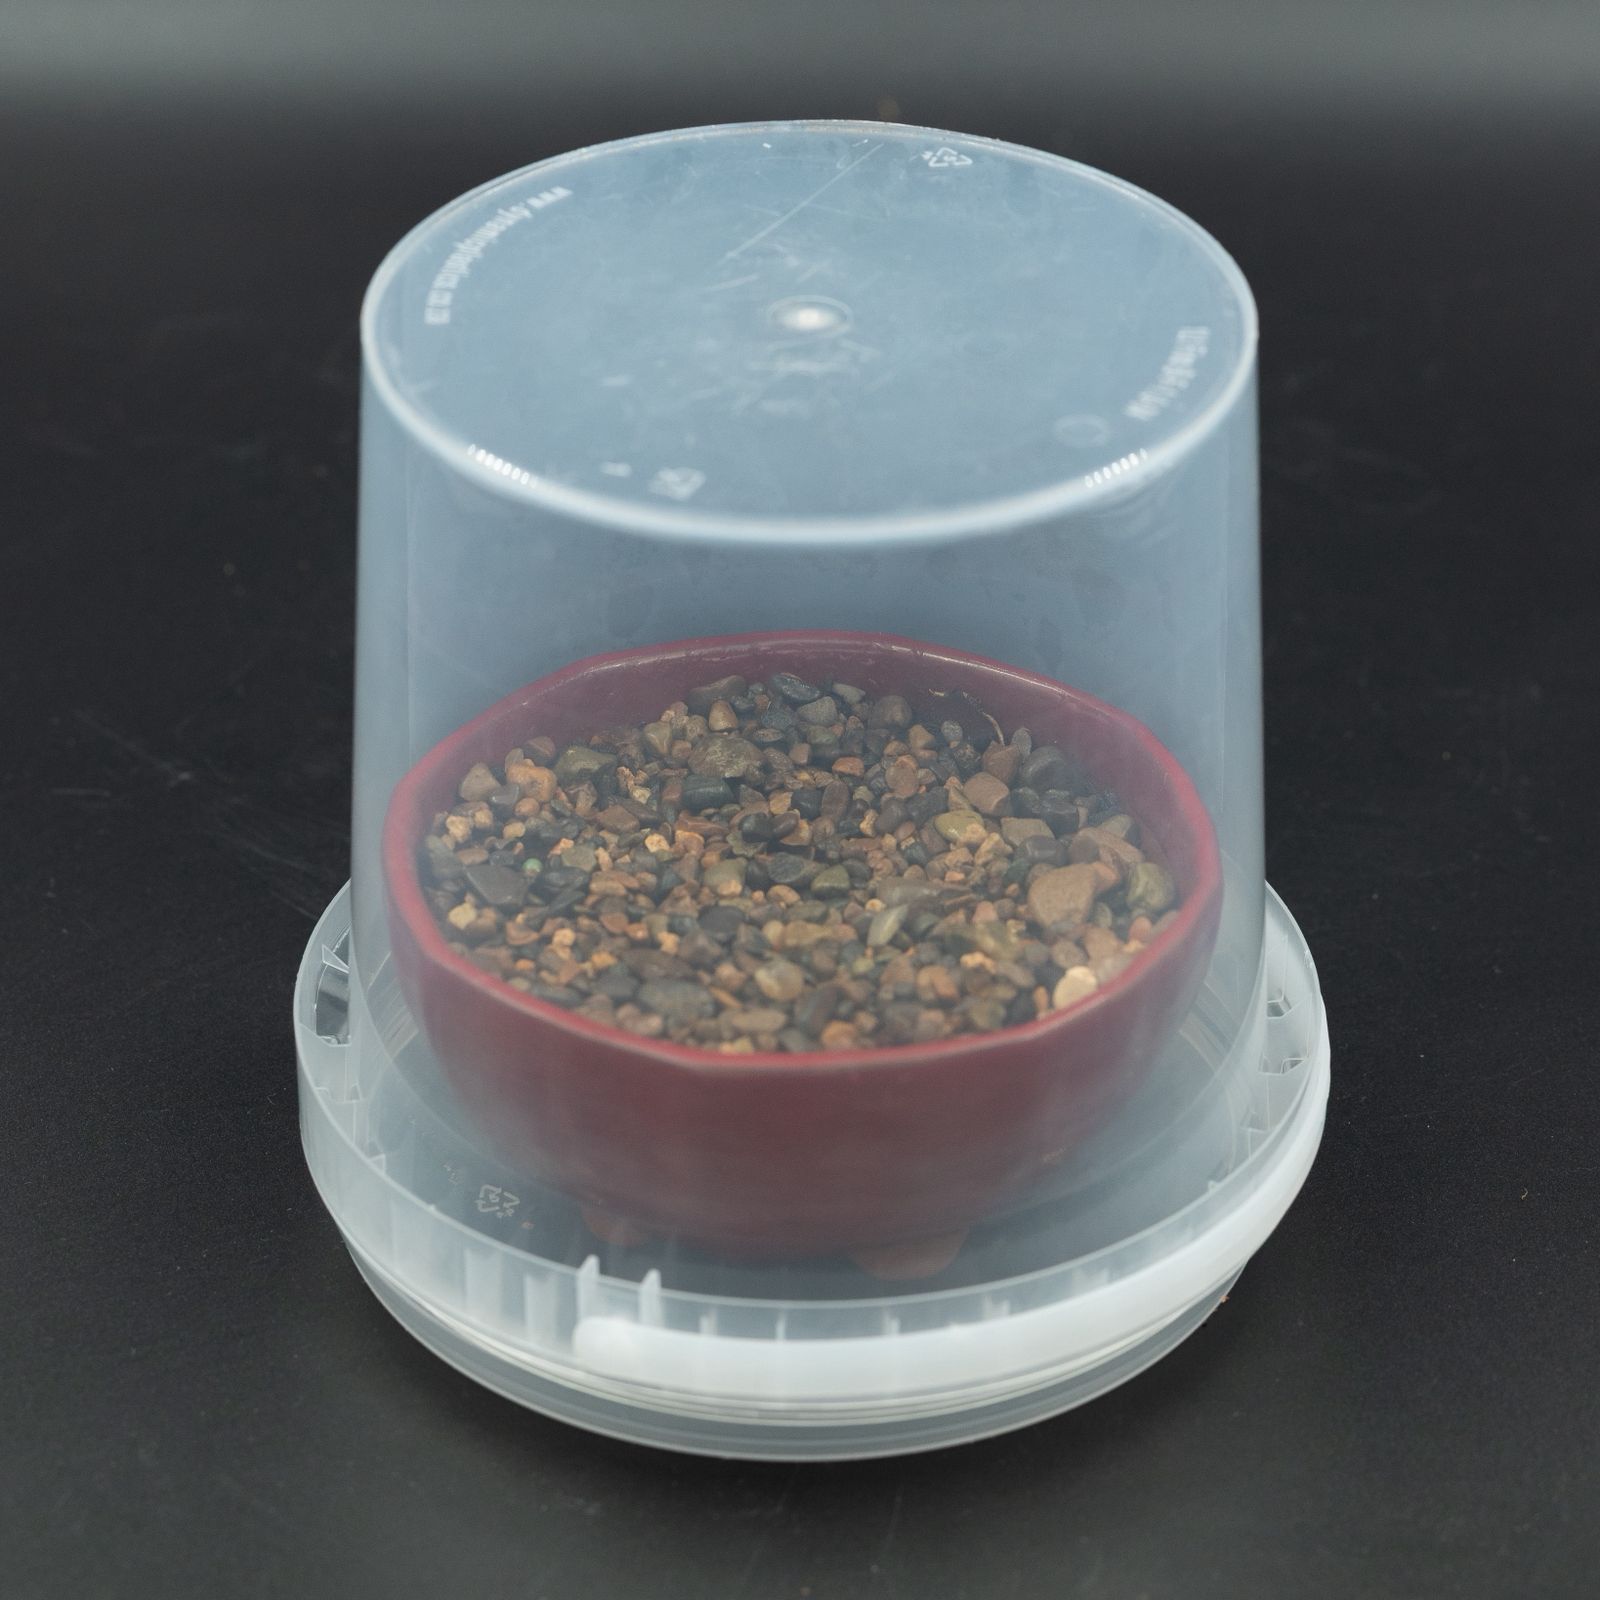
Prepare the Greenhouse
Use the provided 1L transparent container as a mini greenhouse. Place it over the bonsai pot to trap warmth and humidity around the seed, creating ideal conditions for germination.
Ventilation
To prevent excessive moisture buildup, carefully make small holes in the container’s lid or sides to allow for air circulation. This reduces the risk of mold or fungal growth.
Placing the Greenhouse
Set the container snugly over the pot, ensuring it rests securely to maintain a warm, humid environment. If needed, weigh down the edges gently with small stones.
Monitoring Conditions
Place the setup in bright, indirect sunlight. Regularly check the soil moisture, ensuring it stays moist but not soggy. If excessive condensation forms inside the container, temporarily remove it to allow airflow.
Germination and Acclimation
Once the seed germinates and the seedling grows, gradually increase ventilation by opening the container or removing it for short periods. Eventually, remove the greenhouse entirely to let the seedling grow under normal conditions.
This method maintains consistent humidity and warmth, closely mimicking the natural environment necessary for successful germination of Acacia burkei seeds.

When your tree has grown strong enough you can now use the bonsai training wire, to bend and shape your tree as you feel free to do.